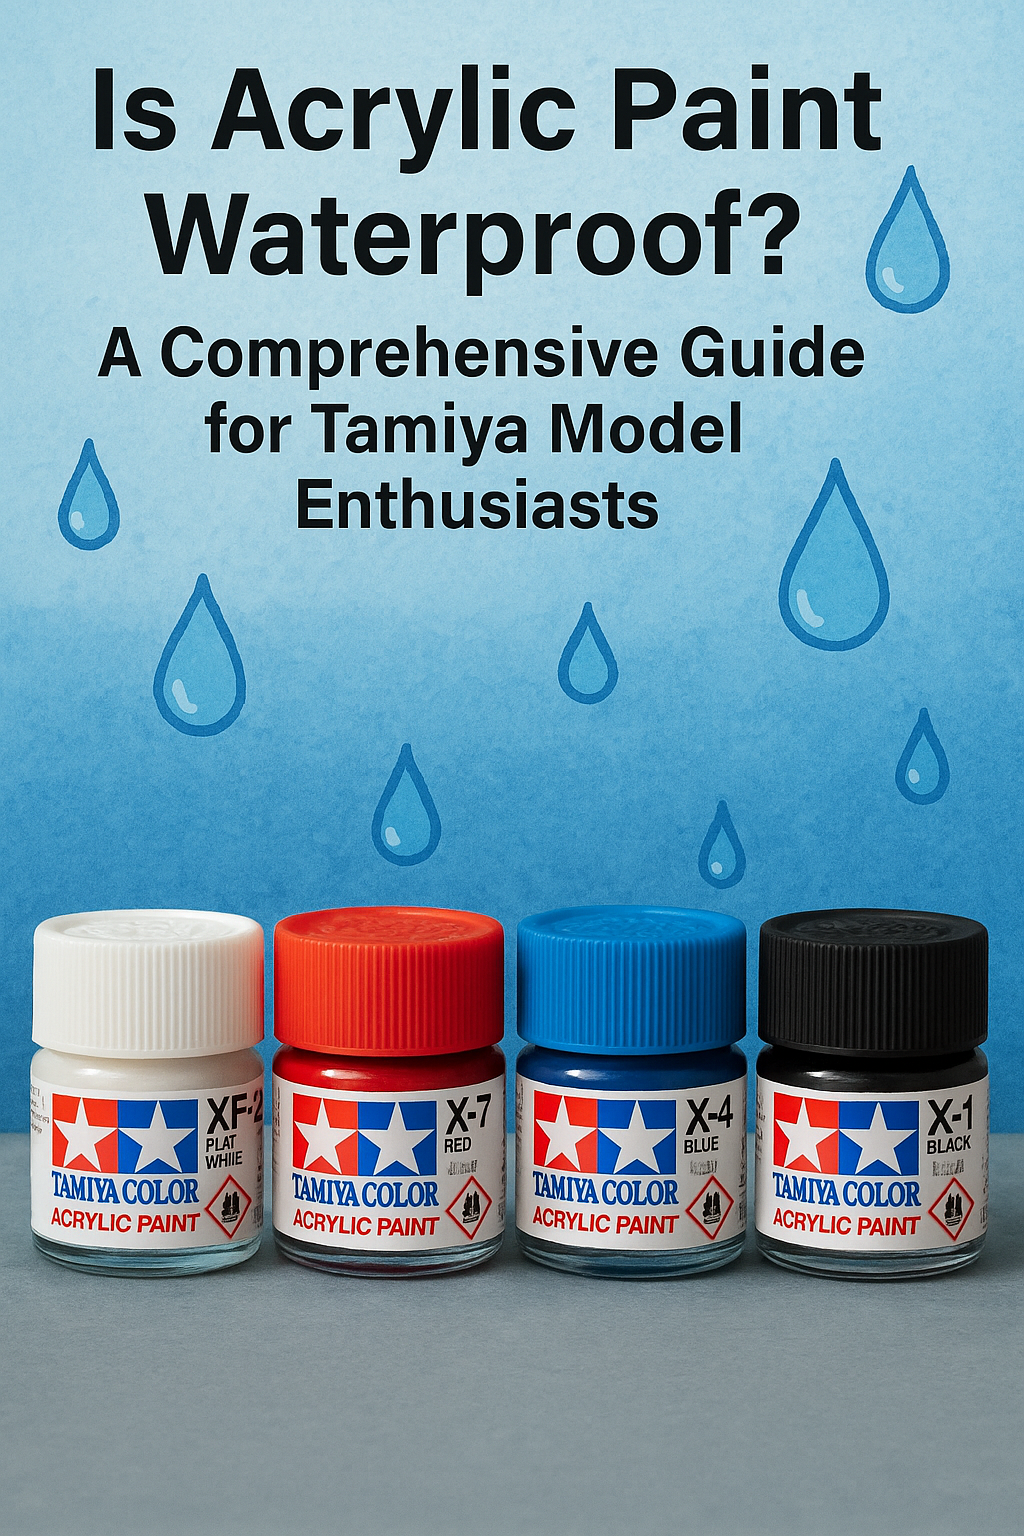


With the right techniques, I can transform your Tamiya models into stunning pieces of art through Tamiya Decaling. This process is not only rewarding but also enhances the overall appearance of your model. In this guide, I will share step-by-step instructions that ensure your decals are applied smoothly and effectively, avoiding common pitfalls. Precision is key, so let’s examine this captivating aspect of Plastic Modeling – A Basic Guide and elevate your modeling skills to the next level.
Understanding Decals
Focusing on Tamiya Decaling will ensure that you achieve the best results with your models, allowing for a professional finish that truly stands out.
While I probe the world of Tamiya models, understanding Tamiya decals : r/modelmakers and the art of Tamiya Decaling is imperative. Decals serve as the final touch, bringing your model to life with intricate designs and markings. Knowing how they function and the best practices for applying them will significantly enhance your modeling experience.
Types of Decals
The table below outlines various types of decals you might encounter:
| Water-slide decals | Commonly used, requiring water to adhere. |
| Self-adhesive decals | Peel and stick, easier to use. |
| Vinyl decals | Durable, often used for racing applications. |
| Transfer decals | Ideal for intricate designs and patterns. |
| Water-based decals | Used with both water and solvent methods. |
Recognizing these types will help you choose the best decal for your project.
Tools and Materials Required
Between preparing your workspace and selecting your materials, having the correct tools is imperative for a successful decaling process. You’ll need basic modeling tools such as a pair of tweezers, scissors, and a clear coat sealant to ensure durability.
Also, consider a cutting mat and a small brush for precise application of softening solutions. Use sharp scissors for clean cuts and make sure you have a reliable setting solution to enhance adhesion. Safety is important; ensure adequate ventilation while working with any solvents. The right tools can make your decaling experience efficient and enjoyable.
Preparing Your Model
Some may overlook the preparation phase, but it is vital for achieving impeccable results with your Tamiya models. Taking the time to get your model ready ensures that decals adhere properly and look their best, avoiding any issues down the line. This chapter will guide you through the necessary steps to prepare your model for decal application.
Cleaning and Priming
Model surfaces need to be pristine before applying decals. Begin by washing your model in warm soapy water to remove grease and dust. Rinse thoroughly and let it dry completely. Once clean, I recommend applying a suitable primer to create a smooth surface and further enhance paint and decal adhesion.
Surface Preparation Techniques
Before applying decals, it’s vital to ensure your model’s surface is as smooth as possible. You can achieve this by sanding any rough areas with fine-grit sandpaper and polishing the surface afterward. This step helps to eliminate imperfections that could compromise the decal application.
Preparing your model involves careful sanding and polishing to achieve that flawless base. I prefer using fine-grit sandpapers, starting from 600 up to 1200 grit for delicate surfaces. Always sand in circular motions to avoid flat spots, and finish with a polishing compound to create an ultra-smooth finish. A well-prepared surface not only improves decal adherence but also enhances the final visual appeal of your model, making it a worthy investment in your crafting process.
Applying Decals
You are now ready to apply your decals, a vital step to achieving a polished look on your Tamiya model. This process requires patience and attention to detail, ensuring that each decal adheres smoothly without bubbles or creases. Carefully position your decal to align with panel lines and markings, then use a soft cloth or a hobby knife to help place it precisely. Patience is key—take your time to ensure a flawless finish.
Techniques for Application
After you have your decals cut out and your model prepared, I suggest using a pair of tweezers to handle them gently while positioning. Applying them in warm water for a few seconds often makes them easier to maneuver. Additionally, using a soft brush allows you to smooth out the decal from the center towards the edges, expelling air bubbles effectively.
Using Decal Solutions
Decals can sometimes resist adhering properly, especially on uneven surfaces, which makes decal solutions highly beneficial. These products help soften the decal film, allowing it to conform to the model’s contours, resulting in a seamless look.
Consequently, I always recommend using a decal setting solution for optimal results. When applying, you can first coat the area with a decal softener to prepare the surface. After positioning the decal, a decoration solution can be applied over it to help it settle down and adhere well. This technique not only enhances the visual appeal but also protects the decals, making them less prone to damage. Just be cautious while using these solutions, as excessive amounts may cause the decal to break down.

Securing Decals
For a durable finish and to prevent your decals from peeling or lifting, it’s imperative to secure them properly. I recommend applying a top coat or sealant after the decals have dried thoroughly. This added layer not only protects the decals from damage but also enhances their appearance by providing a smooth, integrated look with the model’s surface.
Top Coats and Sealants
Securing your decals with a clear coat is a fantastic way to preserve your hard work. I usually opt for either a gloss or satin finish, depending on the desired aesthetic of your model. A clear acrylic spray or paint can effectively lock in the decals while creating a seamless integration with the surrounding paint.
Finishing Touches
The final step in the decaling process is applying finishing touches to elevate your model’s overall appearance. I suggest adding a wash or some weathering techniques to give depth and realism to your work. Additionally, cleaning any excess adhesive or paint around the decals will ensure a neat finish.
Finishing your model with attention to detail can really make it stand out. I like to use a clear matte coat for a natural look, which protects against dust and fingerprints without creating an unrealistic shine. When employing weathering techniques, such as dry brushing or using pastels, ensure you apply them subtly so as not to overpower the beautiful decals. Finally, always allow every layer to fully dry before handling your model to prevent any unwanted smudging or damage.
Common Issues and Troubleshooting
To achieve a flawless finish on your Tamiya models, it’s vital to understand and address common decal issues. If you encounter challenges like silvering, misalignment, or lifting edges, don’t panic. These problems can be rectified with the right approach and materials. Over the years, I’ve found effective solutions for each of these issues, ensuring your model looks impressive and professionally finished.
Decal Placement Mistakes
One of the most frequent errors I see is incorrect decal placement, which can throw off the model’s overall aesthetic. It’s easy to misjudge the position, especially if you’re working with multiple decals. Always take your time and double-check the placement against references or instructions to avoid this common pitfall.
Repairing Damaged Decals
For any damaged decals, quick action can save your project from disappointment. If you notice tears or creases, especially post-application, don’t despair; these issues can usually be fixed.
It’s possible to repair damaged decals with a little finesse. First, I recommend using a very sharp hobby knife to gently trim away any rough edges, smoothing the decal’s surface. Next, apply a touch of decal softener to help it adhere better and blend into the paintwork. If the damage is severe, consider replacing the decal altogether. Always keep some spares on hand just in case. With these techniques, your model can still look great, even after a mishap.
Advanced Techniques
All seasoned decalers can elevate their craftsmanship with these advanced techniques:
| Technique | Description |
|---|---|
| Micro Sol & Micro Set | Enhances the ability of decals to conform to surfaces. |
| Decal Film | Creates a protective layer and unifies imperfections. |
| Clear Coat Strategy | Utilizes various finishes to achieve different looks. |
| Advanced Adhesives | Secures decals in hard-to-reach areas. |
Custom Decals and Design
To create unique custom decals, I always start by designing them using graphic design software. This allows me to control every aspect, from size to color, ensuring they fit my Tamiya model perfectly.
Weathering Effects
After applying decals, adding weathering effects brings the model to life. I focus on subtle variations like dirt, rust, or faded colors to mimic real-life wear and tear.
Another approach I like is using watercolor washes or pastels for realistic weathering. By applying these techniques lightly, I can create depth and realism without overwhelming my model. Highlights can emphasize certain areas, drawing the eye and giving the impression of a lived-in appearance. Just be cautious with the application amount, as too much can lead to an unrealistic finish. Keep practicing with different mixes and techniques to achieve your desired effect!
To wrap up
The process of decaling Tamiya models can be both rewarding and challenging, but with the right techniques, you can achieve stunning results. By following the step-by-step instructions I’ve shared, you can enhance your model’s aesthetic appeal significantly. If you’re looking for more tips and tricks, feel free to check out this resource on Tamiya Decals [:S]. I hope you find joy in this aspect of your modeling journey!