


Q: What is the best way to paint a Tamiya RC car body?
A: # The Ultimate Guide to Painting a Tamiya RC Car Body
Painting a Tamiya RC car body is a rewarding process that allows you to personalize your model and showcase your creativity. Whether you’re a seasoned hobbyist or a beginner, achieving a professional-looking finish requires patience, technique, and the right materials. In this guide, we will walk you through the best practices for painting your Tamiya RC car body.
## Preparation: The Key to Success
### Gather Your Materials
Before you begin painting, ensure you have all the necessary materials:
– Tamiya RC car body (clear polycarbonate or ABS plastic)
– Tamiya spray paint or acrylic paint
– Primer (if using ABS plastic)
– Masking tape
– Fine-grit sandpaper (1000-2000 grit)
– Soap and water for cleaning
– Lint-free cloth
– Hobby knife or scissors
– Safety gear (gloves, mask, and goggles)
### Clean the Car Body
A clean surface is essential for paint adhesion. Follow these steps to prepare your car body:
1. **Wash with Soap and Water**: Remove any dust, grease, or mold release agents by washing the body with mild soap and warm water.
2. **Rinse and Dry**: Thoroughly rinse with clean water and dry with a lint-free cloth to prevent dust particles from adhering to the surface.
### Sand the Surface (Optional)
For ABS plastic bodies, lightly sand the surface with fine-grit sandpaper to create a slightly rough texture, which helps the primer adhere better.
## Painting: Step-by-Step Guide
### Priming the Surface
**Necessary for ABS Plastic**: Apply a thin, even coat of primer to the ABS plastic body to ensure better paint adhesion and durability. Allow the primer to dry completely according to the manufacturer’s instructions.
### Masking for Precision
Use masking tape to cover areas you don’t want to paint. Ensure the tape is firmly pressed down to prevent paint from seeping underneath.
### Applying the Paint
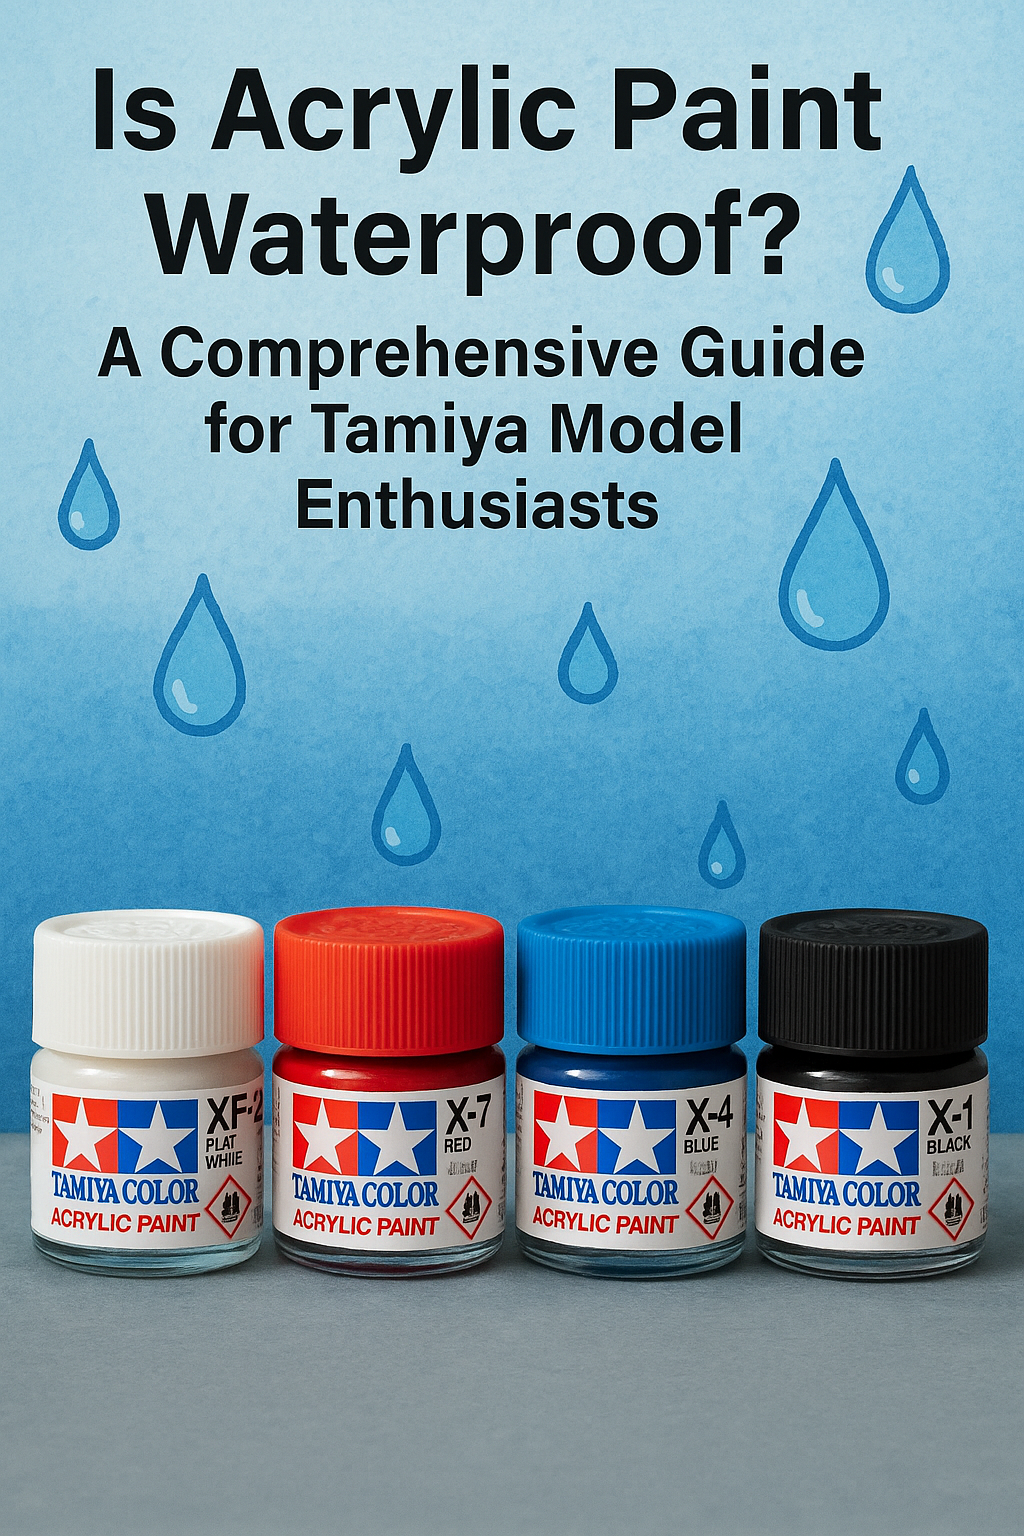
1. **Choose the Right Paint**: Use Tamiya spray paints, specifically designed for polycarbonate bodies, or Tamiya acrylic paints for ABS plastic.
2. **Shake Well**: Ensure the paint is thoroughly mixed by shaking the can for at least two minutes before application.
3. **First Coat**: Hold the spray can about 12 inches away from the surface and apply the first light coat. Use smooth, even strokes to avoid drips and runs.
4. **Dry and Repeat**: Allow the first coat to dry thoroughly before applying additional coats. Typically, 2-3 coats are sufficient for an even finish.
5. **Cure the Paint**: Once satisfied with the coverage, allow the paint to cure completely, which may take up to 24 hours.
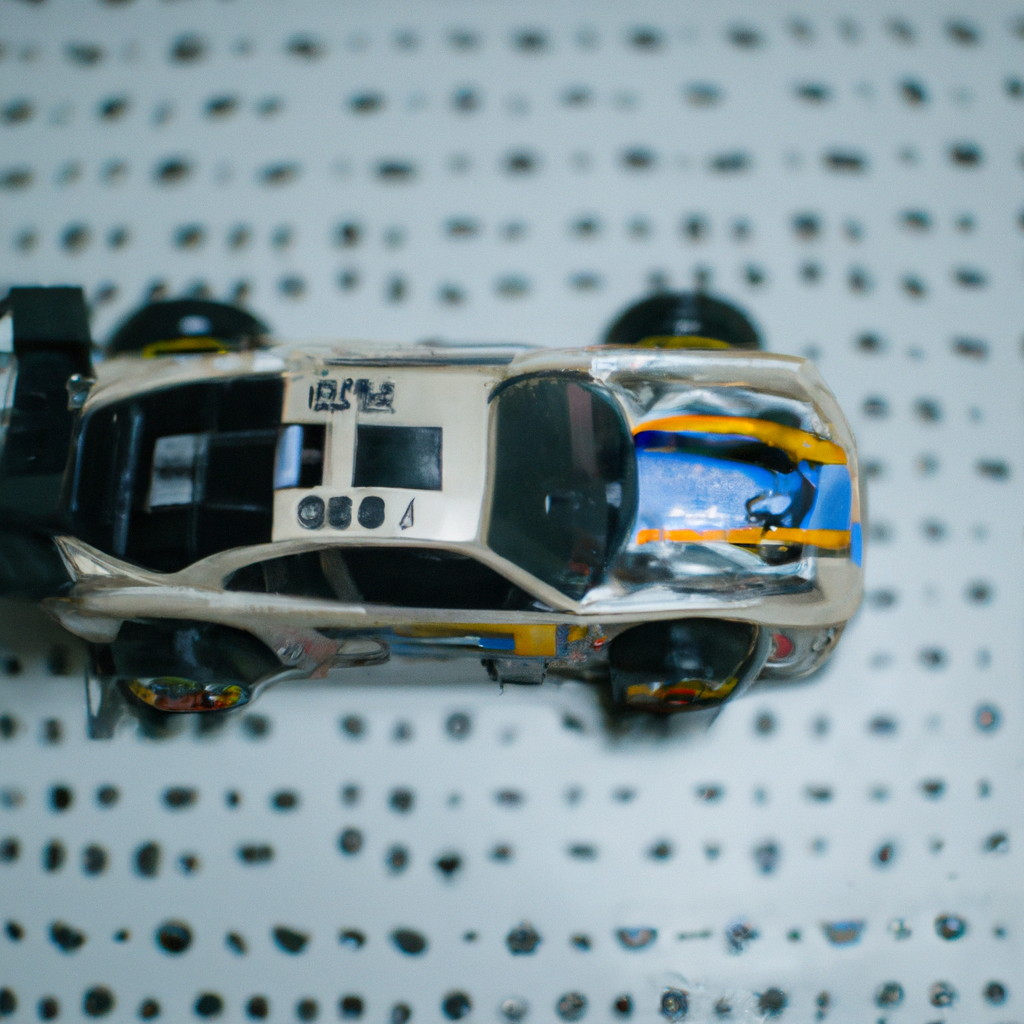
### Detailing and Finishing Touches
After the base color is applied and cured, add any additional details or decals to enhance your design. Use a fine brush and Tamiya acrylic paints for detailing work.
## Tips for a Professional Finish
– **Avoid Painting in Humidity**: High humidity can affect the drying process and finish quality. Paint in a controlled environment for best results.
– **Test the Paint**: Always test spray on a scrap piece or inconspicuous area to ensure the color and spray pattern meet your expectations.
– **Use Clear Coat**: For added protection and a glossy finish, apply a clear coat after the final color coat has dried.
## Conclusion
Painting your Tamiya RC car body is an art that requires practice and precision. By following these steps and taking your time, you’ll achieve a stunning and personalized model that stands out on the racetrack. With the right preparation and techniques, your Tamiya RC car will not only look fantastic but also withstand the rigors of racing. Happy painting!
For more tips and Tamiya model insights, visit our other blog posts at TamiyaModel.com. Don't forget to share your creations with us on social media using #TamiyaModelArt!