


It’s a rewarding journey to immerse yourself in building Tamiya aircraft models, where attention to detail can transform your project from ordinary to exceptional. I’ll share some necessary tips to help you achieve realistic details in your builds, enhancing your skills along the way. From choosing the right paints to mastering weathering techniques, each step enhances the authenticity of your model. For beginners, I recommend checking out Plastic Modeling – A Basic Guide to lay a strong foundation. Let’s get started!
Selecting the Right Model
The first step in building Tamiya aircraft models is selecting the right model for your skill level and interests. These kits offer a wide range of aircraft, from World War II fighters to modern jets, and choosing one that resonates with you will enhance your building experience. Consider factors such as the model’s complexity, the availability of aftermarket parts, and your personal preference for a particular aircraft type to ensure a fulfilling project.
Understanding Scale and Size
Model aircraft come in various scales, with popular sizes including 1/48 and 1/72. Understanding the scale is important, as it affects the level of detail you can achieve and how the model fits into your collection. A larger scale typically allows for greater detail, while smaller scales can present a challenging yet rewarding building experience. I suggest choosing a scale that aligns with your comfort level and the space available for display.
Researching Aircraft Models
The research process for selecting aircraft models involves plunging into the history and specifications of the planes that interest you. Explore different variants, color schemes, and markings that can bring your model to life. Gather reference materials such as books, documentaries, and online resources to gain insights into the aircraft’s design and operational history. I find that having a solid understanding can significantly enhance the realism of your finished model.
Even when you’re excited about a particular aircraft model, take the time to explore a variety of sources for research. Collecting detailed information allows you to highlight authentic colors and markings, leading to a more visually stunning representation. Keep an eye out for specific features and armament aspects that can add a unique touch to your build. This research phase not only enriches your model experience but also equips you with the knowledge needed for realistic detailing.
Essential Tools and Materials
You will need a variety of tools and materials to achieve realistic details in your Tamiya aircraft models. Investing in quality items will make your assembly process smoother and enhance the final appearance of your models. From the right cutting tools to adhesives and painting supplies, having everything at your fingertips can greatly improve your modeling experience.
Recommended Tools for Assembly
Before venturing into assembly, I suggest gathering necessary tools such as precision hobby knives, tweezers, and a cutting mat. A good set of files and sandpaper will help you refine part edges, while a quality set of pliers can assist with bending and shaping components. Each tool aids in achieving clean lines and seamless fitment, increasing the realism of your finished product.
Paints and Finishing Products
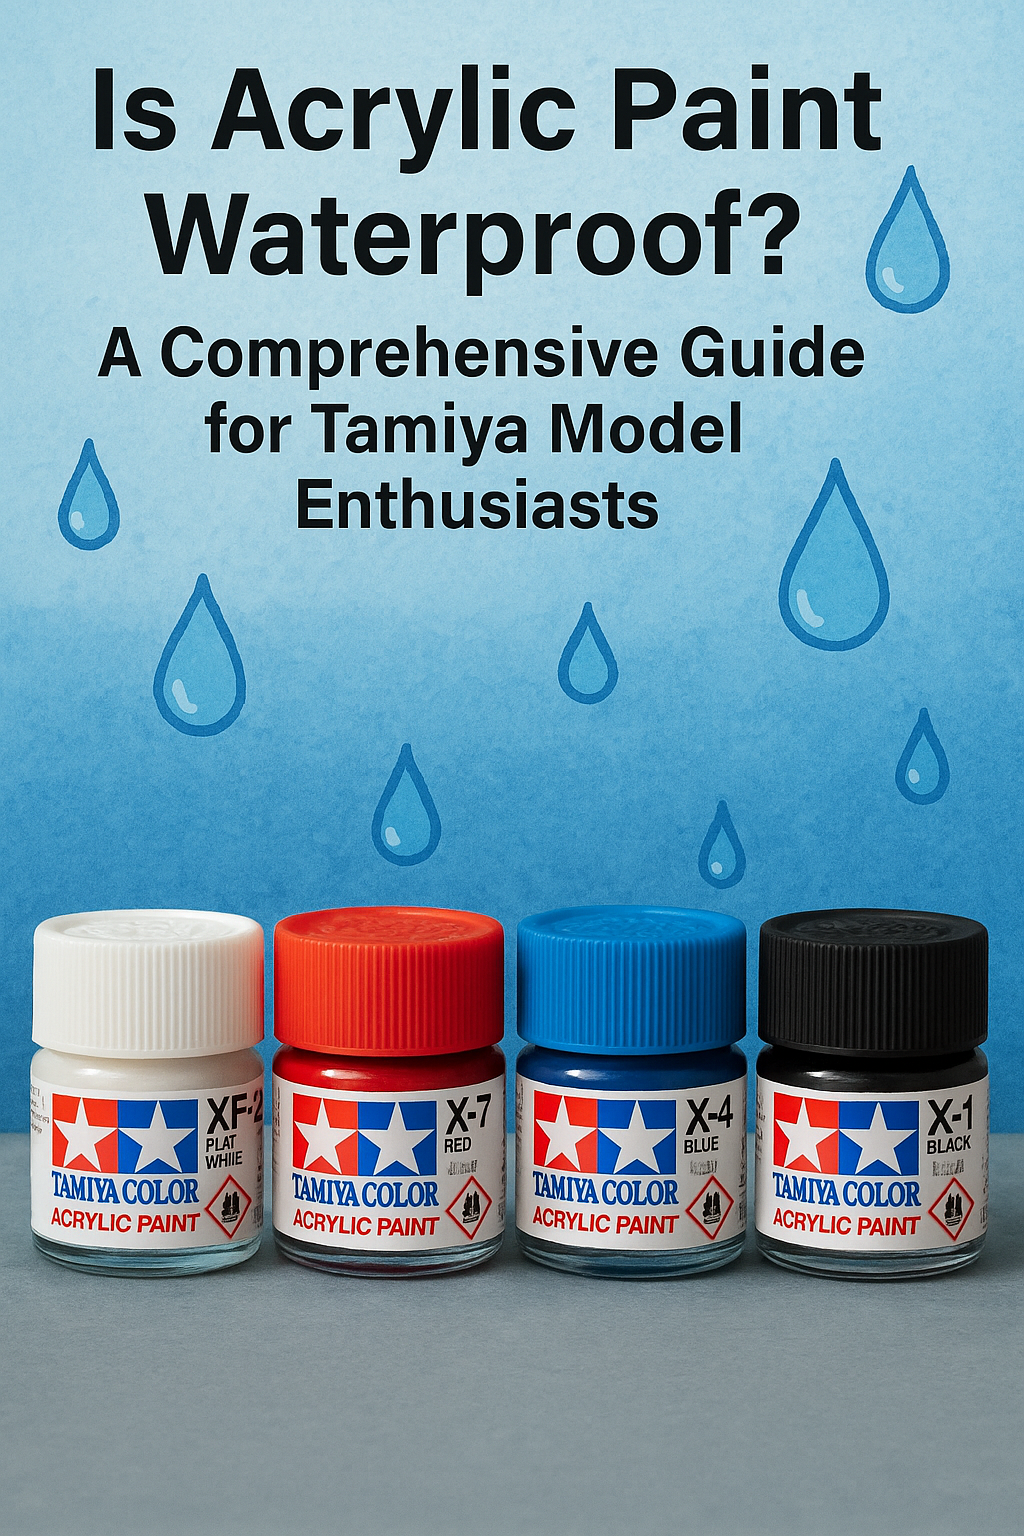
About the paints and finishes, you’ll find that proper colors and textures can dramatically elevate your model’s appearance. Choosing the right kind of paint—whether acrylic or enamel—is important, as each has its application methods and drying times. Additionally, weathering and detail paints can add authenticity to your aircraft.
Plus, I highly recommend using acrylic paints for their ease of use and non-toxic nature, making them safer for indoor use. For those interested in advanced techniques, consider utilizing weathering powders for added realism. Just handle all paints with care, particularly solvents, which can be hazardous if not used in a well-ventilated space. Proper masking tapes can enhance clean lines, while clear coats will protect your delicate paint job and lend a finished look to your masterpiece.

Assembly Techniques
Some effective assembly techniques can elevate your Tamiya aircraft model to the next level. Ensure you have a well-lit workspace and use fine-tipped tools for precision. Pay close attention to each part’s fit and alignment; this will help achieve the realism you strive for. I often find that test-fitting components before gluing is key to avoiding mistakes, and it gives me a clearer idea of how everything will come together.
Step-by-Step Instructions
An organized approach can streamline the assembly process. Below is a concise guide on important steps:
| 1. Prepare Your Workspace | Clear a designated area and gather tools. |
| 2. Sort Parts | Group similar parts to ease identification. |
| 3. Test Fit Components | Align parts without glue to check fit. |
| 4. Apply Adhesive | Use appropriate glue sparingly. |
| 5. Hold in Place | Keep parts steady until the glue sets. |
| 6. Allow to Cure | Let the assembly cure fully before further work. |
Common Assembly Pitfalls
Any small mistake can lead to frustrating issues later. Some common assembly pitfalls include improper alignment of parts and excessive use of glue, which can ultimately damage your model. I often encounter parts that fit poorly because they weren’t cleaned of excess plastic, so I make sure to properly trim and sand components beforehand.
And overlooking these details can compromise your model’s integrity. For instance, if you apply too much glue, it can seep out and mar the finish of other components. Moreover, not allowing the adhesive to cure completely may create weak bonds, causing parts to detach later. To achieve the best result, always ensure a clean fit and take your time with each connection; this focus on detail will empower your success and lead to impressive assembly outcomes.
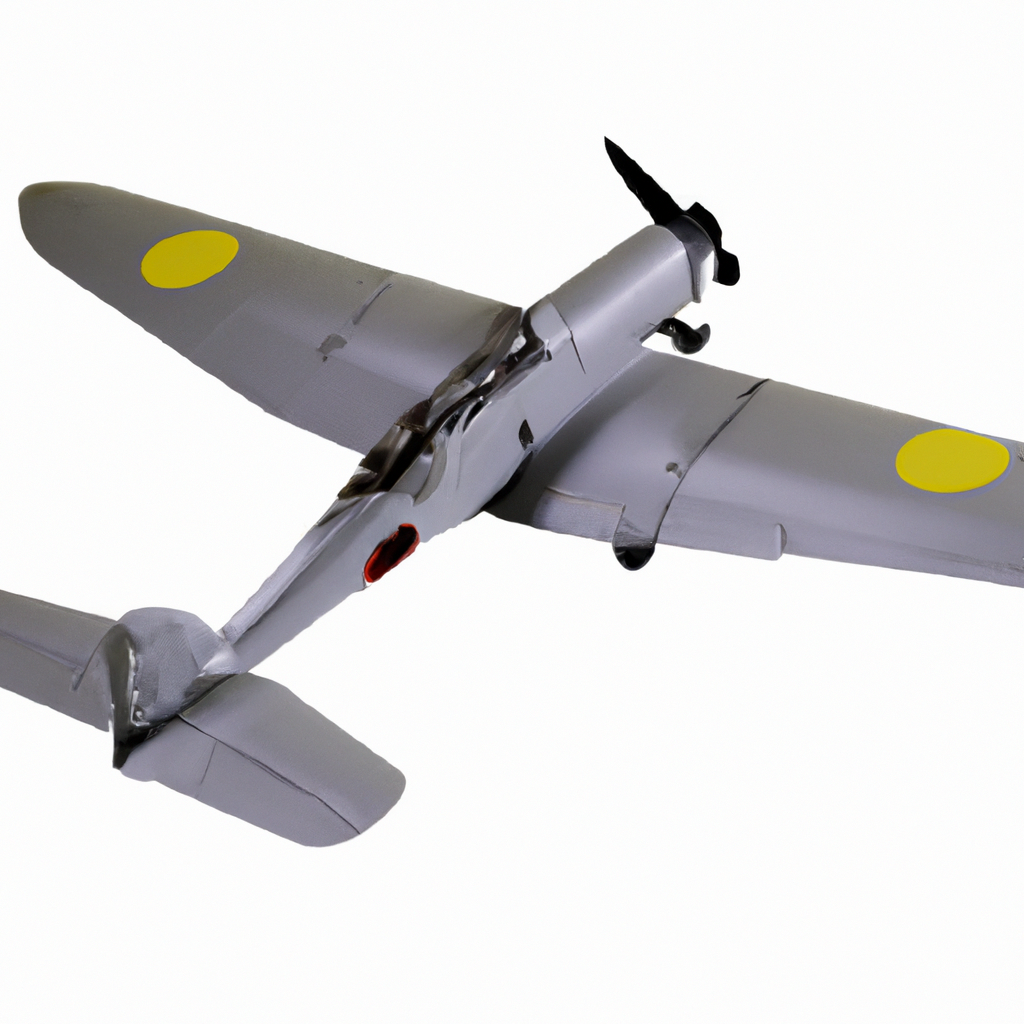
Adding Realistic Details
Despite my early challenges in achieving that perfect finish, I found that adding realistic details greatly elevates the overall appearance of my Tamiya aircraft models. Focus on improving your skill set by exploring Tools, techniques and recommendations for Aircraft model. Paying attention to small elements will help your model stand out and appear truly lifelike.
Decals and Markings
By carefully applying decals and markings, you can enhance the authenticity of your model. Selecting high-quality decals that align with the specific aircraft you’re replicating will create a more believable representation. When applying, ensure a smooth finish by using a soft cloth and a setting solution to eliminate any air bubbles.
Weathering Techniques
Between choosing the right paint colors and applying them evenly, effectively weathering your model adds depth and realism. Treatment with washes and pigments can simulate dirt, grime, and wear commonly seen on real aircraft.
Indeed, weathering is an art that requires practice and experimentation. Utilizing techniques like oil washes or pastel dust can give your model a convincing aged look. Be cautious when applying these products, as they can profoundly alter your model’s appearance. I recommend starting with lighter applications to gauge the effect and gradually build up layers for a more realistic finish. Be mindful of, subtlety is key; you want to enhance, not overpower, the details you’ve worked so hard to achieve.
Painting Techniques
Unlike many other hobbies, painting Tamiya aircraft models requires an understanding of technique to achieve a realistic finish. I recommend investing time in mastering various methods, from layering paints to creating subtle weathering effects. Using the right tools and preparing your surfaces properly can elevate your model from a simple kit to a stunning replica.
Airbrush vs. Hand Painting
Hand painting can be a rewarding way to add unique details and flourishes to your model. However, if you prefer precision and smooth finishes, an airbrush is often the better choice. It enables you to cover larger areas quickly and creates a more even application of paint, vital for achieving a professional look.
Color Schemes and Finishing
Hand painting the color schemes and applying finishing touches can greatly enhance the authenticity of your model. Choosing accurate colors based on historical references gives depth to your creation, while the finishing details, such as decals and weathering, can make your aircraft truly stand out.
Hence, I recommend conducting thorough research on the color schemes used in your specific aircraft model. You can find valuable references in books or online forums. Incorporating features like panel lines and subtle shading will add to the realism. Applying a protective coat after painting ensures longevity and durability, allowing you to appreciate your model for years to come.
Displaying Your Model
Many model builders overlook the importance of showcasing their hard work effectively. A well-displayed model not only enhances the overall appeal but also allows your attention to detail to shine through. Consider the setting and context in which you display your aircraft model to create a captivating presentation that reflects your artistic vision.
Base and Stand Options
Any base or stand you choose for your model can significantly impact its visual presentation. I recommend opting for a sturdy display stand that complements your aircraft’s theme, whether it’s a simple wooden base or a more elaborate diorama that tells a story. This choice will help elevate your model, keeping it safe while allowing it to be appreciated from all angles.
Lighting and Presentation
Before showcasing your model, it’s necessary to consider the lighting setup. Proper lighting can dramatically enhance the details and colors of your aircraft, making it more eye-catching. I find that employing soft, focused lighting helps to create depth and draws attention to the intricate features of the model.
Displaying your aircraft model under the right lighting conditions is key to showcasing its details. I often use natural light or LED lights that mimic daylight to avoid harsh glares and shadows. This approach highlights the unique aspects of the build while maintaining a realistic look. I prefer to experiment with different angles to find the most flattering position for my model. A well-lit model, coupled with a thoughtful display base, makes your hard work stand out, leaving a lasting impression on viewers.
Conclusion
From above, I hope you find these tips for building Tamiya aircraft models helpful in adding realistic details that enhance your overall project. Attention to weathering, painting techniques, and meticulous assembly can make a significant difference in the final appearance of your models. If you’re looking for more guidance, I recommend checking out Building and Detailing Model Aircraft (FineScale … for in-depth insights and techniques. Your commitment to detail will surely elevate your modeling experience.