
Disclosure: As an eBay affiliate, we may earn a commission if you purchase items through the eBay links on this site.
Q: How to Install LEDs Tamiya RC Cars: Racing Tips
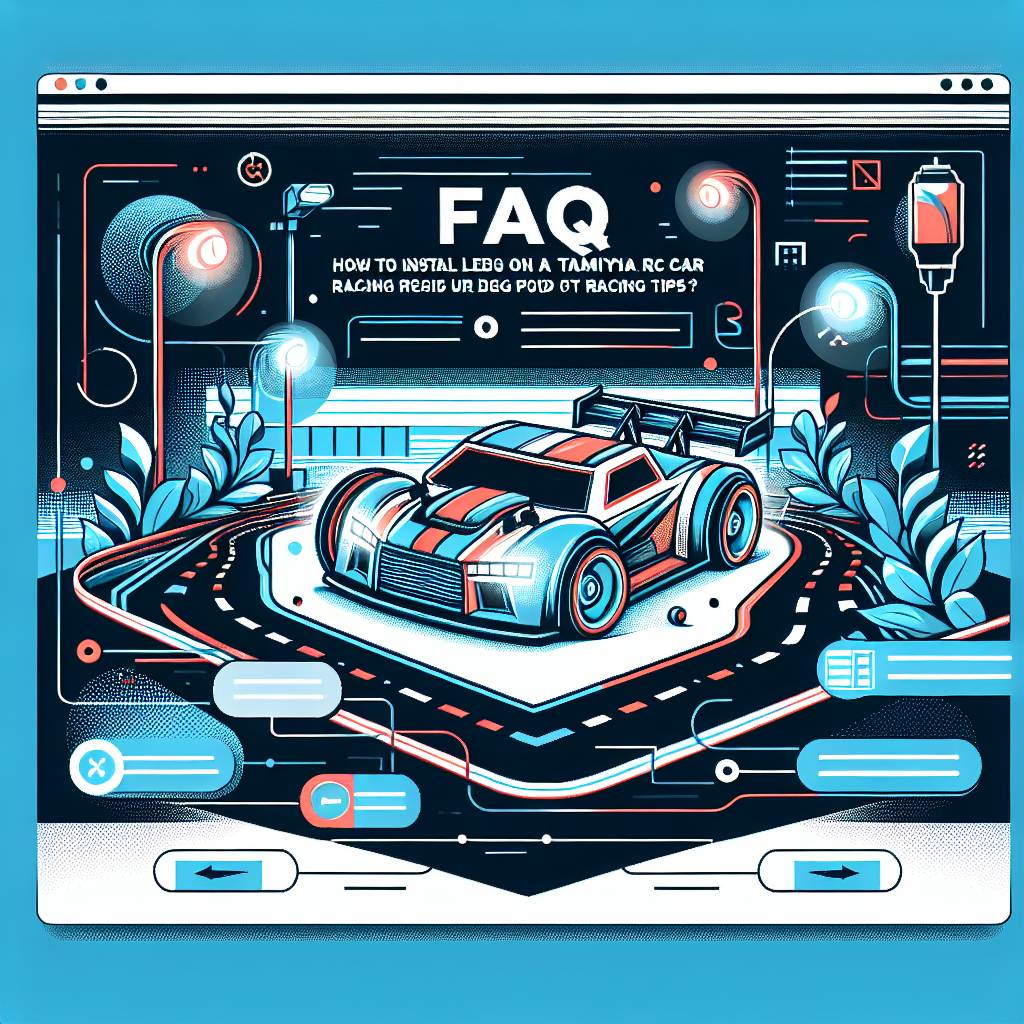
A: # How to Install LEDs Tamiya RC Cars: Racing Tips
The world of Tamiya RC cars is vibrant and exciting, offering enthusiasts an opportunity to customize their vehicles to reflect their personal style and preferences. One of the most popular modifications is the installation of LEDs Tamiya RC lights, which not only adds aesthetic appeal but can also enhance visibility during night races. In this comprehensive guide, we’ll walk you through the process of installing LEDs Tamiya RC on your car and share some racing tips to maximize your performance.
## Why Install LEDs Tamiya RC on Your Car?
Before diving into the installation process, it’s important to understand the benefits of adding LED lights to your Tamiya RC car:
– **Enhanced Visibility**: LEDs Tamiya RC improve visibility during night races or low-light conditions, allowing you to track your car more easily.
– **Aesthetic Appeal**: Customize your car with different colors and patterns to make it stand out from the crowd.
– **Increased Safety**: LEDs Tamiya RC can help prevent collisions by making your car more visible to other racers.

## Tools and Materials Needed
To successfully install LEDs Tamiya RC on your car, you will need the following tools and materials:
– LED light kit (specific to RC cars)
– Soldering iron and solder
– Wire cutters/strippers
– Electrical tape or heat shrink tubing
– Double-sided tape or adhesive
– Small screwdriver set
– Tamiya RC car model
## Step-by-Step Installation Guide
### Step 1: Choose the Right LED Kit
Selecting the right LED kit is crucial. Kits are often model-specific, so ensure compatibility with your Tamiya RC car. Consider the number of LEDs you want, their color, and whether you want additional features like flashing patterns.
### Step 2: Prepare Your Workspace
Create a well-lit workspace with ample room to move around. Gather all your tools and materials, ensuring that your Tamiya RC car is clean and dry before beginning the installation.
### Step 3: Disassemble the Car Body
– Remove the car body from the chassis to access the interior.
– Use a small screwdriver to carefully remove any screws or clips holding the body in place.
### Step 4: Plan Your LED Layout
– Decide where you want to place your LEDs Tamiya RC. Common locations include the headlights, taillights, and under the chassis.
– Use adhesive or double-sided tape to temporarily position the LEDs and assess their placement.
### Step 5: Connect the LEDs
– Strip the ends of the LED wires and the power source wires.
– Solder the wires together, ensuring correct polarity (positive to positive, negative to negative).
– Use electrical tape or heat shrink tubing to cover the solder joints for insulation.
### Step 6: Secure the LEDs
– Once satisfied with the layout, permanently secure the LEDs using adhesive or tape.
– Tuck any excess wiring neatly to prevent interference with moving parts.
### Step 7: Test the LEDs
– Before reassembling the car, test the LEDs Tamiya RC to ensure they light up correctly.
– If any LEDs do not illuminate, check the connections and solder joints.
### Step 8: Reassemble the Car
– Carefully reattach the car body to the chassis, ensuring no wires are pinched or damaged.
– Secure all screws and clips to complete the reassembly.
## Racing Tips with LEDs Tamiya RC
### Optimize Performance
– **Weight Distribution**: Ensure the added weight of the LEDs does not affect your car’s balance. Position LEDs and wires thoughtfully to maintain optimal weight distribution.
– **Power Management**: LEDs Tamiya RC consume power, so consider using a larger battery or a separate power source to prevent draining the main battery quickly.
### Visibility and Strategy
– **Night Racing**: Use LEDs Tamiya RC strategically to enhance visibility during night races. Consider using different colors to differentiate front and rear lights.
– **Communication**: Coordinate with fellow racers to agree on LED colors and patterns for better communication and reduced confusion on the track.
## FAQs
### Can I install LEDs Tamiya RC myself, or should I seek professional help?
Installing LEDs Tamiya RC on a Tamiya RC car can be a DIY project if you have basic soldering skills and follow the instructions carefully. However, if you’re uncomfortable with soldering, professional help is advisable.
### Do LEDs Tamiya RC affect the car’s speed or performance?
While LEDs Tamiya RC add minimal weight, they can affect power consumption. Ensure your battery can handle the additional load to prevent performance issues.
### Are there waterproof LED kits available?
Yes, waterproof LED kits are available and recommended if you plan to race in wet conditions or through puddles.
## Conclusion
Installing LEDs Tamiya RC on your car is a rewarding project that enhances both the visual appeal and functionality of your model. By following this guide, you can customize your car to shine bright on the track, whether day or night. Don’t forget to share your LED setup on social media and inspire fellow enthusiasts!
### Call to Action
Ready to take your Tamiya RC car to the next level? Explore our range of LED kits Tamiya RC and other accessories at TamiyaModel.com today, and let your creativity light up the track! Join our community, share your experiences, and stay updated with the latest tips and products. Happy racing!
Leave a Reply