


Q: How to use Tamiya Acrylic Paints
A: # How to Use Tamiya Acrylic Paints: A Comprehensive Guide
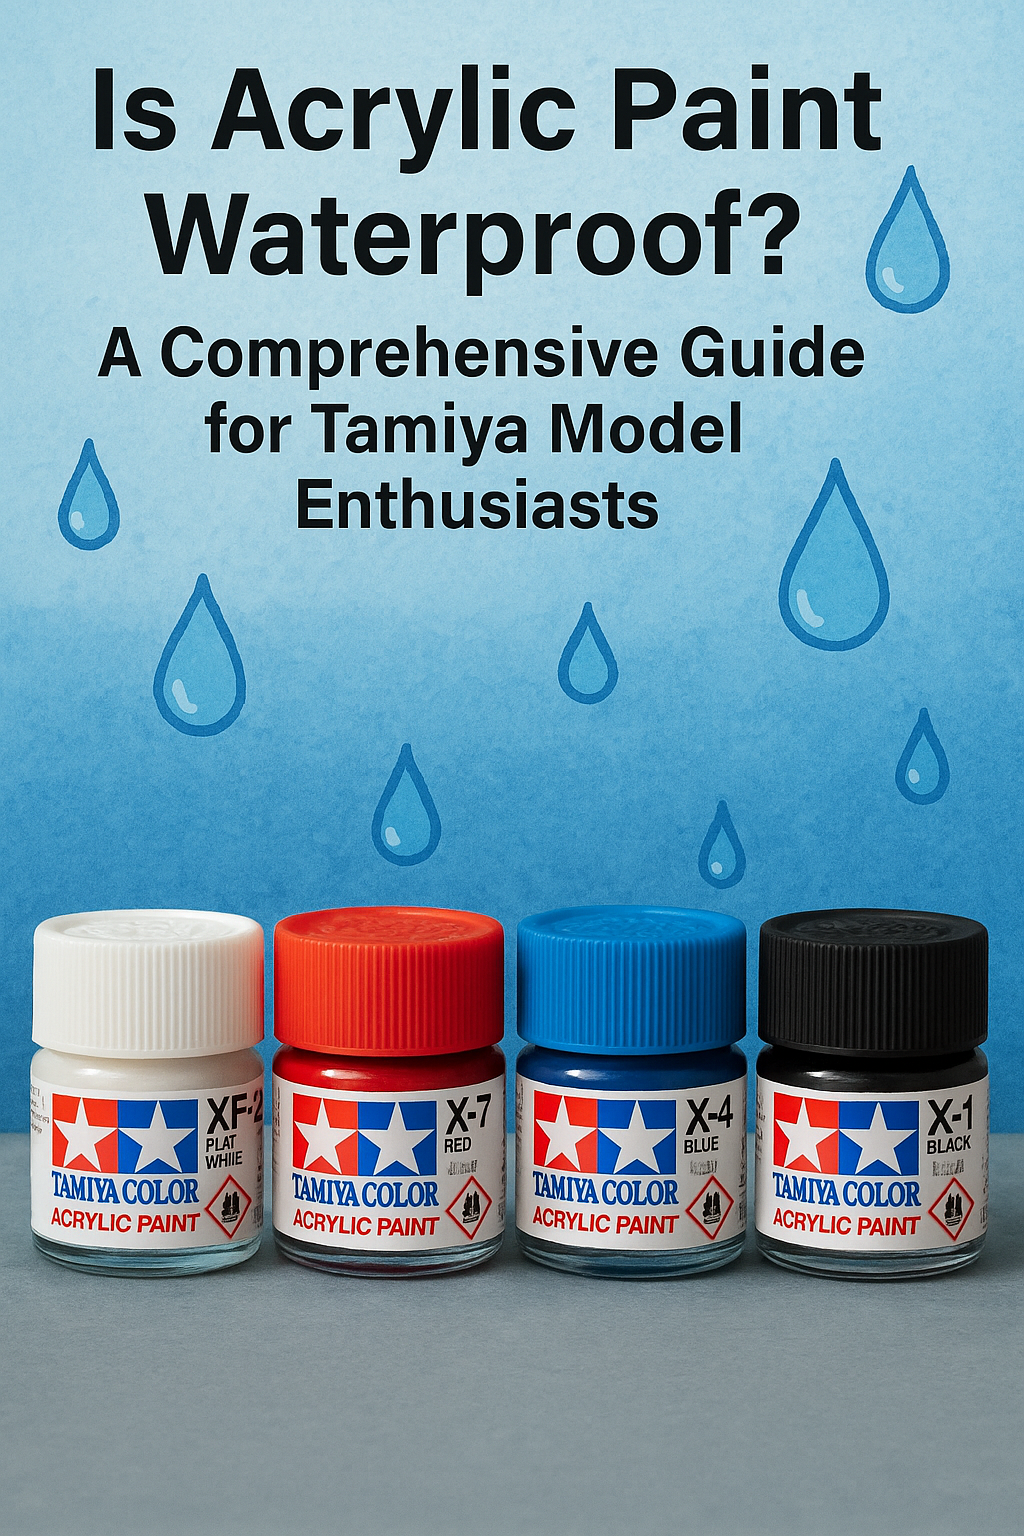
Tamiya acrylic paints are a popular choice among model enthusiasts for their vibrant colors, ease of use, and excellent finish. Whether you are a beginner or a seasoned modeler, mastering the use of Tamiya acrylic paints can significantly enhance the quality of your models. This guide will walk you through the process, providing tips and techniques to make the most of these paints.
## Understanding Tamiya Acrylic Paints
Tamiya acrylic paints are water-soluble, making them easy to clean up and safe to use. They are available in a wide range of colors and finishes, including gloss, semi-gloss, and matte. These paints are specially formulated to provide excellent adhesion to plastic models, ensuring a smooth and durable finish.
### Key Features:
– **Water-soluble**: Easy to clean and environmentally friendly.
– **Fast-drying**: Allows for quick application of multiple layers.
– **Versatile**: Suitable for brush painting and airbrushing.
– **Wide color range**: Perfect for achieving the desired look on any model.
## Preparing to Paint
Before you start painting, proper preparation is crucial to achieving the best results.
### Gather Your Materials
– Tamiya acrylic paints
– Paintbrushes or an airbrush
– Tamiya X-20A Acrylic Thinner or water
– Mixing palette or containers
– Stirring sticks
– Masking tape (if needed)
– Primer (optional but recommended for better adhesion)
### Preparing the Model
1. **Clean the Model**: Wash the parts with mild soap and water to remove any oils or residues. Rinse thoroughly and let them dry.
2. **Assemble the Model**: Follow the instructions to assemble your model, leaving off any parts that are easier to paint separately.
3. **Prime the Surface**: Apply a primer to ensure better paint adhesion and a smoother finish. Tamiya offers a range of primers suitable for various materials.
## Painting Techniques
### Brush Painting
Brush painting is ideal for small areas or when you need more control over the application.
1. **Thin the Paint**: Mix Tamiya acrylic paint with X-20A thinner or water. A 1:1 ratio is a good starting point, but you may need to adjust based on the desired consistency.
2. **Load the Brush**: Dip the brush into the paint, ensuring it’s not overloaded.
3. **Apply the Paint**: Use smooth, even strokes to apply the paint. Multiple thin layers will yield a better finish than one thick layer.
4. **Let it Dry**: Allow each layer to dry completely before applying the next. Tamiya acrylics dry quickly, typically within 15-20 minutes.
### Airbrushing
Airbrushing provides a smooth, even finish and is ideal for larger surfaces.
1. **Prepare the Paint**: Thin the paint with Tamiya X-20A thinner. A mix of 1 part paint to 2 parts thinner is generally effective for airbrushing.
2. **Setup the Airbrush**: Ensure your airbrush is clean and properly adjusted for optimal spray.
3. **Apply the Paint**: Spray the paint in light, even coats, maintaining a consistent distance from the model.
4. **Layering**: Allow the paint to dry between coats to avoid runs and achieve an even finish.
## Tips for Best Results
– **Test First**: Always test your paint mixture on a scrap piece before applying it to your model.
– **Ventilation**: Work in a well-ventilated area to avoid inhaling fumes.
– **Storage**: Seal paint jars tightly after use to prevent drying out.
– **Cleaning**: Clean brushes and airbrushes thoroughly with water or Tamiya X-20A thinner after each use.
## Conclusion
Tamiya acrylic paints offer versatility and superior finish quality for model enthusiasts. By understanding the basics of preparation, brush painting, and airbrushing, you can achieve professional-looking results. Remember to experiment with different techniques and ratios to find what works best for your projects. Happy modeling!
For more tips and product information, visit [TamiyaModel.com](https://www.tamiyamodel.com) and explore our extensive range of model kits and accessories.